Various types of squares are used in metrology and precision engineering: template squares, flat template squares, inspection squares, and bench squares, all with wide bases. These tools fail and require repair.
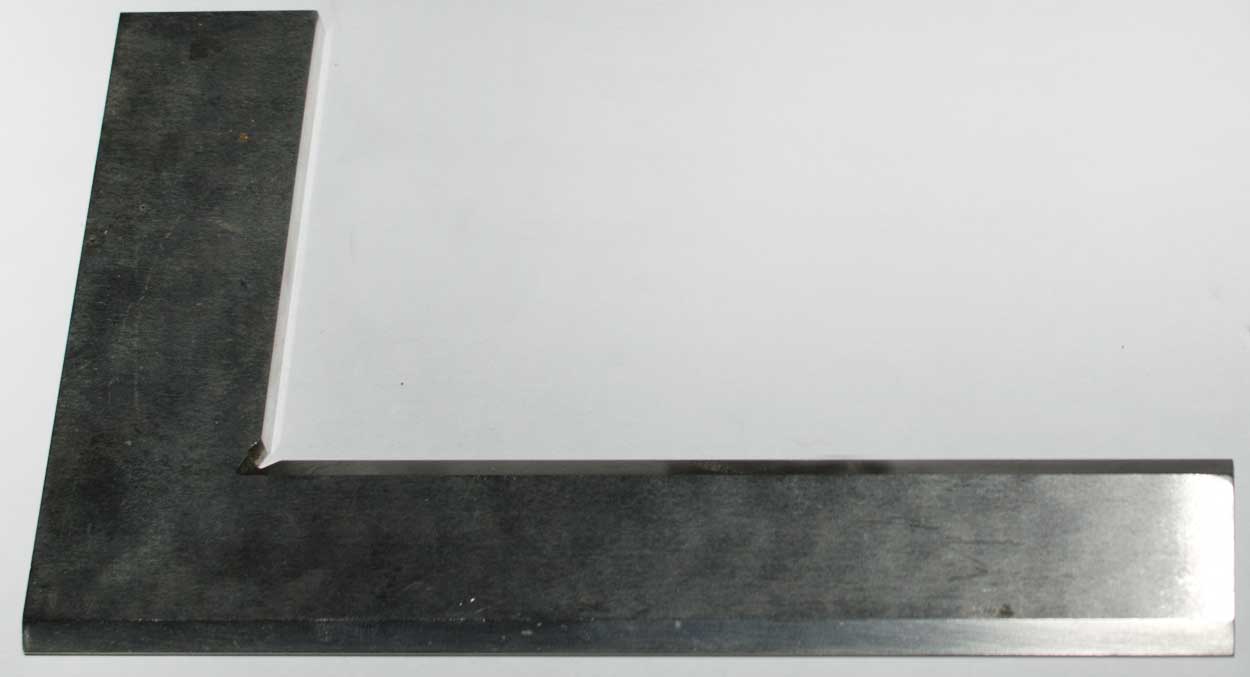
Flat Square Repair
Flat square defects include: a) deformation of the sides; b) incorrect right angles; c) scratches, nicks, and corrosion on the surfaces.
The repair sequence is as follows: 1) cleaning; 2) finishing the inner corner; 3) finishing the outer corner; 4) finishing the end faces; 5) dulling sharp edges; 6) lubrication.
If there are nicks on the surfaces, they should be filed with a personal file.
Sanding is done manually or on a machine, with the scratches directed longitudinally. A vulcanite wheel (rubber) produces good results; a cut-out sector is used for hand-grinding, over the factory "line." All surfaces of the square must be ground, except for the working surfaces, which are finished.
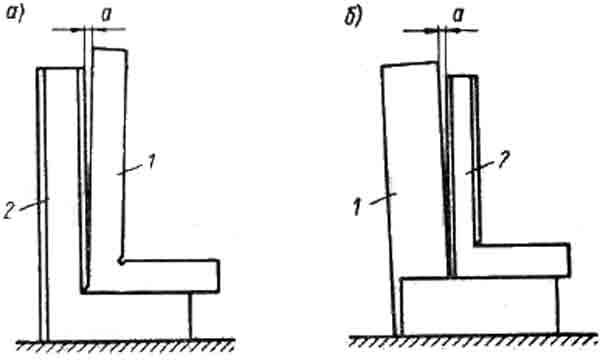
Check the outer (a) and inner (b) corners of square 1 with a straightedge square 2.
Before finishing, the inner corner is checked by light. The inner corner is finished on a plate saturated with M14 abrasive micropowder (white fused alumina) and kerosene. Finishing is carried out in the usual manner, and to ensure the square's sides are perpendicular to the end surface, the side is pressed against a finishing cube. After finishing both surfaces, their flatness is checked with a sharp-edged straightedge, and the angle is checked with a 90° straightedge square.
The outer corner is finished on the same plate using a finishing cube. When finishing, strictly maintain the parallelism of the inner and outer corners, checking first with a micrometer and then on a stand with a dial indicator. The end faces are finished on a block plate. Sharp edges are blunted with a whetstone. Repaired squares are wiped with a cloth and coated with a thin layer of oil.
Repairing wide-base squares
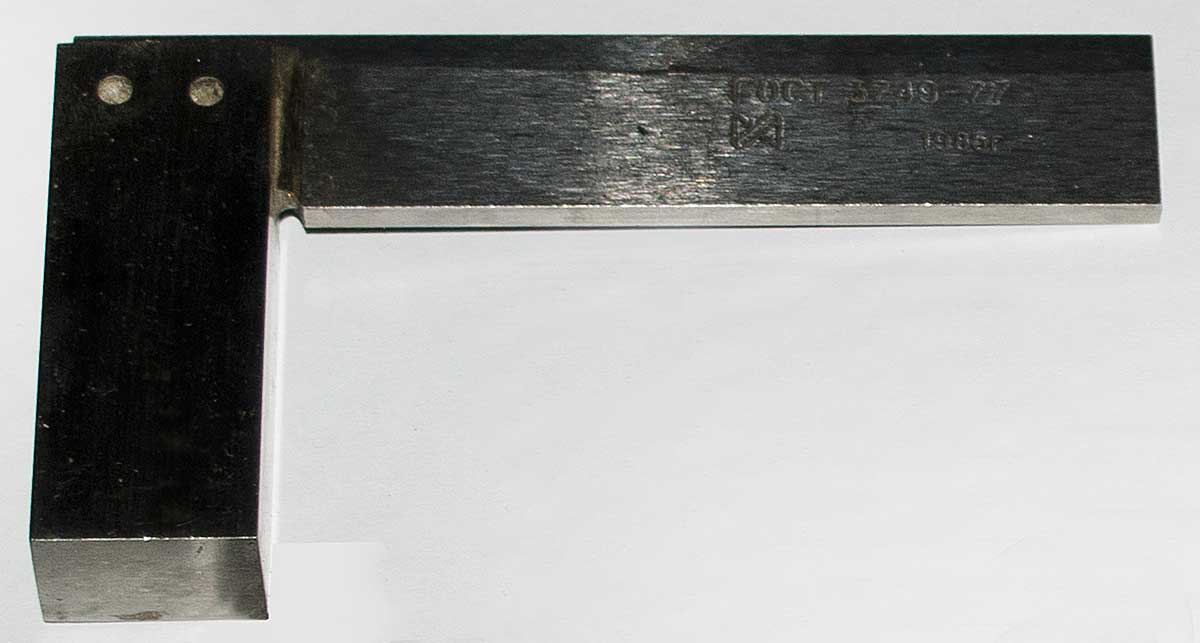
The nature of defects in wide-base squares is the same as in flat squares. The repair process involves separately finishing the side and base of the square.
The side of the square that fits into the base groove is attached to the base with epoxy glue, aluminum-filled epoxy resin, or pins.
Repair of the square followed by pin assembly is performed in the following sequence: 1) disassembly; 2) annealing; 3) grinding the working faces; 4) cleaning the surfaces; 5) finishing; 6) machining the pin holes; 7) assembly; 8) blunting sharp edges; 9) lubrication.
To disassemble, the square is placed on an anvil or in a vice, and the side of the square is knocked out of the base using a punch. After disassembly, the end of the ruler that fits into the base groove and the end of the base containing the groove are annealed in a high-frequency heating unit. The working surfaces (edges) are ground on a grinding machine. Any nicks on the surface are filed. After annealing the ends, the scale on their surfaces is removed with emery cloth, applying only the surfaces of the ruler and base. The end that fits into the groove of the base and the groove itself are sanded.
The working surfaces of the ruler and base are finished separately on a hotplate in the usual manner, after checking them with a straightedge or paint. A square is used to ensure the working surface is perpendicular to the wide side of the square. During finishing, the parallelism of the sides is checked with a micrometer.
The pin holes are machined in the following sequence. Two indentations are made with a center punch where the ruler attaches to the base. The pin holes are drilled in a special jig 2, which secures the square ruler 1 and base 3 in place, ensuring the required tolerances for a right angle.
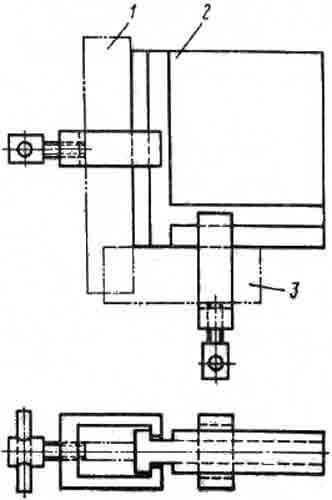
Jig for assembling squares with a wide base
The diameter of the pin holes is determined based on the size of the square being repaired. When drilling, allow for reaming. When reaming, ensure the required tolerance and surface finish of the holes for pressing in the pins. Countersink only the side where the pins will be pressed, without removing the square from the fixture. Press in the pins using a press or hammer if a press is not available. Remove the square from the fixture and check for a right angle. Blunt any sharp edges with a block. Wipe the squares with a rag and coat them with a thin layer of oil.
Assembling the square by pressing in the pins is significantly simplified by using an electrical discharge machining (EDM) machine: there is no need to anneal the ends of the ruler and the base, since EDM can also create a hole in hardened steel.
When assembling squares by gluing (for example, with epoxy glue), perform the following steps: a) coat the connecting surfaces with an even layer of adhesive; b) place the corner piece into the groove of the base; c) clamp the corner piece into the jig; d) dry in a drying oven at 140°C for 50-60 minutes; d) cool in air; e) remove from the jig and clean off any adhesive residue.
***